4 April 2026
React Flow Tutorial: Build a Workflow Editor (Part 1)
React Flow is a powerful library for building node-based editors, but if we want to build a workflow editor like the one shown below, we will need to write a fair amount of code on top of it.
This is the first part of a series on building a workflow editor from scratch. We will start by explaining why building an abstraction layer on top of React Flow makes a lot of sense and how to go about it.
What React Flow Gives You
React Flow is an excellent low-level library designed for building node-based editors. That means we get complete control over how nodes are positioned, connected, and interacted with, giving us the flexibility and power to build virtually any kind of node-based interface we can think of.
As shown above, we can drag nodes freely, remove and create connections, and interact with the editor in any way we want. The code for this example is shown below.
const initialNodes: Node[] = [
  {
    id: "n1",
    type: "block",
    position: { x: 0, y: 0 },
    data: { text: "A" },
  },
  {
    id: "n2",
    type: "block",
    position: { x: 0, y: 150 },
    data: { text: "B" },
  },
];

const initialEdges: Edge[] = [
  { id: "n1-n2", type: "line", source: "n1", target: "n2" },
];

export function App() {
  const [nodes, setNodes] = useState(initialNodes);
  const [edges, setEdges] = useState(initialEdges);

  const onNodesChange = useCallback<OnNodesChange>(
    (changes: NodeChange[]) =>
      setNodes((nodes) => applyNodeChanges(changes, nodes)),
    [],
  );

  const onEdgesChange = useCallback<OnEdgesChange>(
    (changes: EdgeChange[]) =>
      setEdges((edges) => applyEdgeChanges(changes, edges)),
    [],
  );

  const onConnect = useCallback<OnConnect>(
    (connection: Connection) =>
      setEdges((edges) => addEdge({ type: "line", ...connection }, edges)),
    [],
  );

  return (
    <ReactFlow
      nodes={nodes}
      edges={edges}
      onNodesChange={onNodesChange}
      onEdgesChange={onEdgesChange}
      onConnect={onConnect}
      nodeTypes={nodeTypes}
      edgeTypes={edgeTypes}
      fitView={true}
      maxZoom={1}
      minZoom={0.75}
      panOnScroll={true}
      proOptions={{
        hideAttribution: true,
      }}
    >
      <Background
        color="var(--color-neutral-700)"
        variant={BackgroundVariant.Dots}
      />
    </ReactFlow>
  );
}
What We Really Need
When building a workflow editor, we don't need all that flexibility. We want a more constrained experience where nodes connect in specific ways and only certain interactions are allowed.
The example below shows the kind of structure we want to work with.
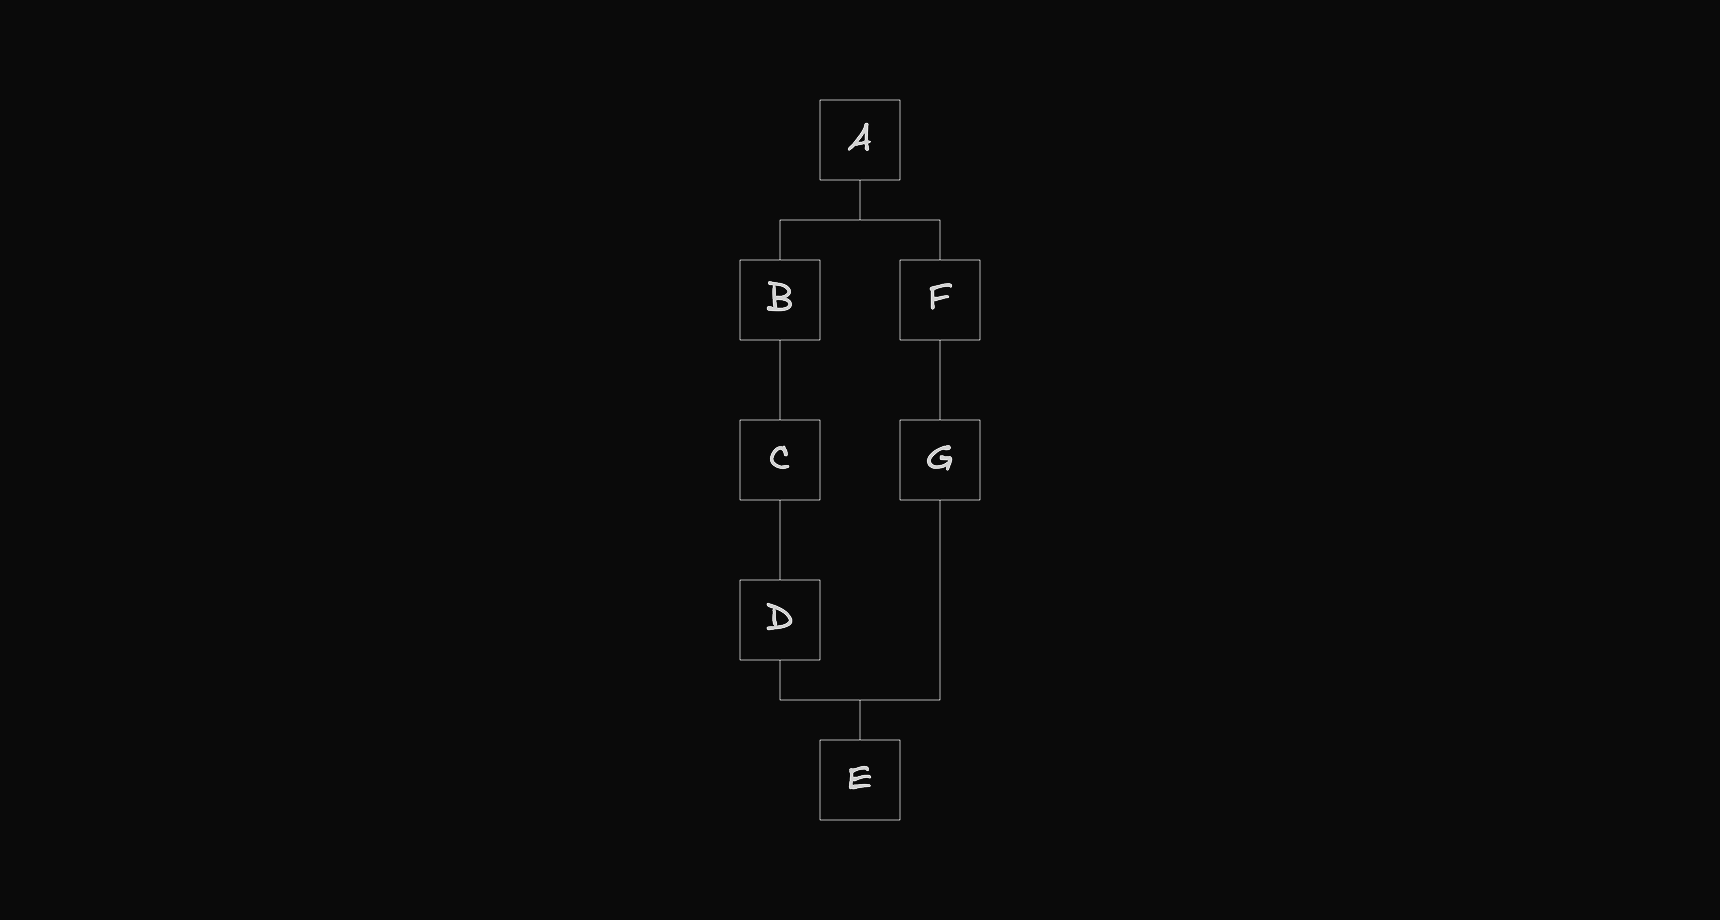
At its most basic level, the workflow is a sequence of nodes.

At certain points, a node can create a fork, where the flow branches into multiple paths, with each path acting as a separate flow that eventually merges back into the main one.
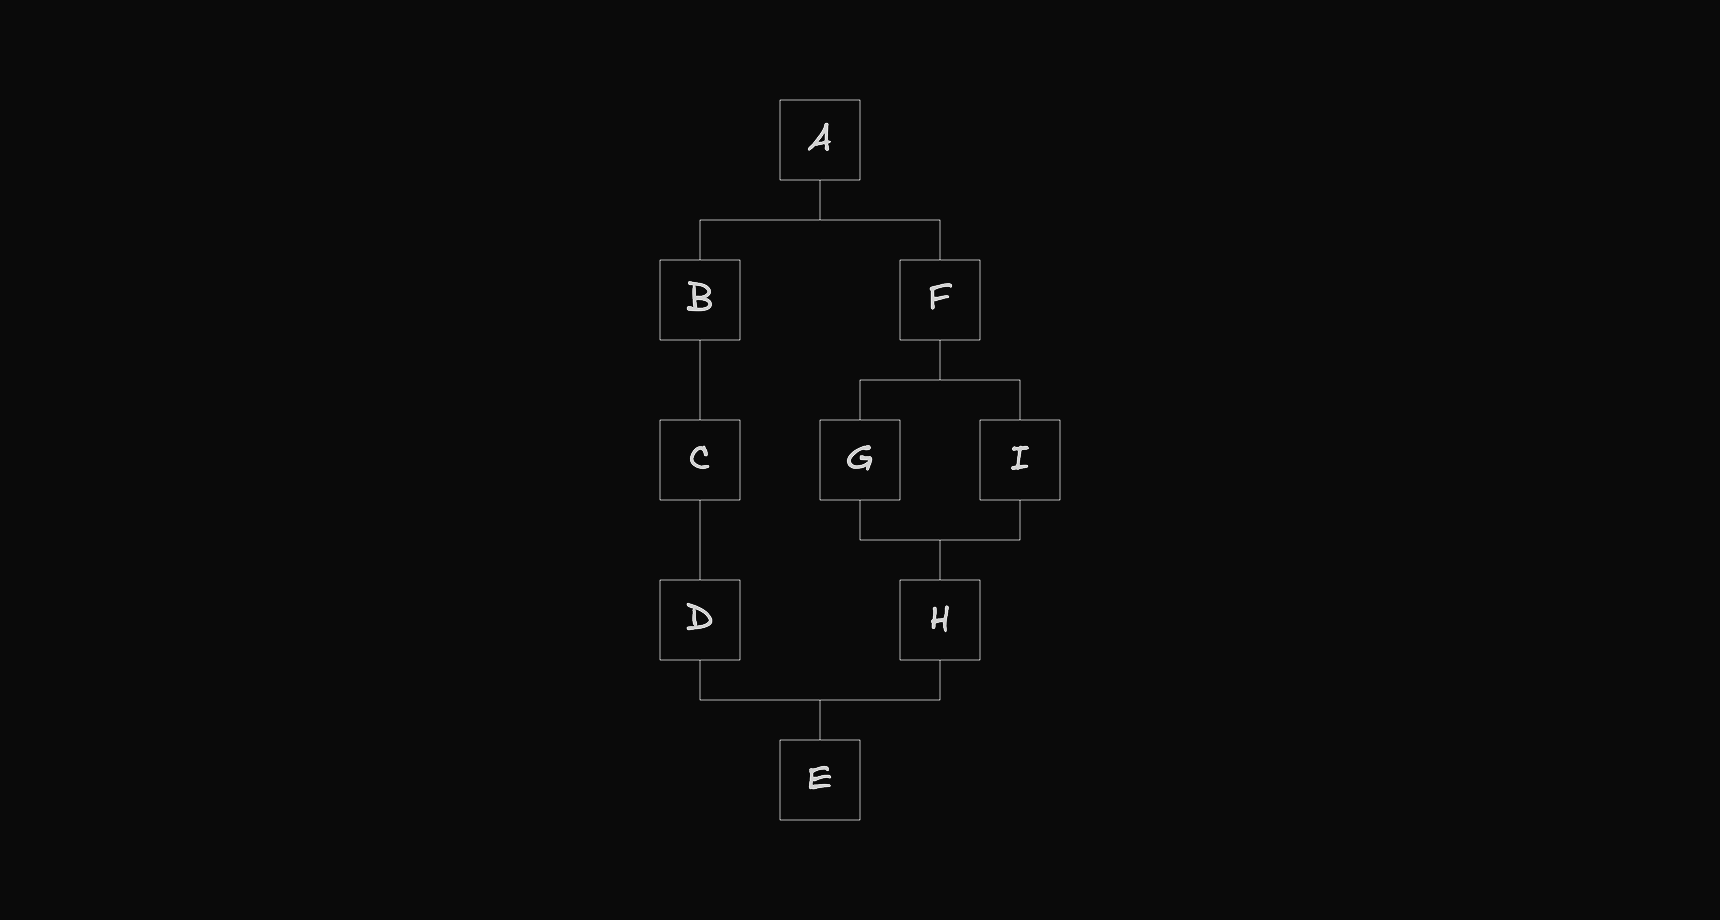
Since each path is itself a flow, it can also create its own fork, forming a recursive structure.
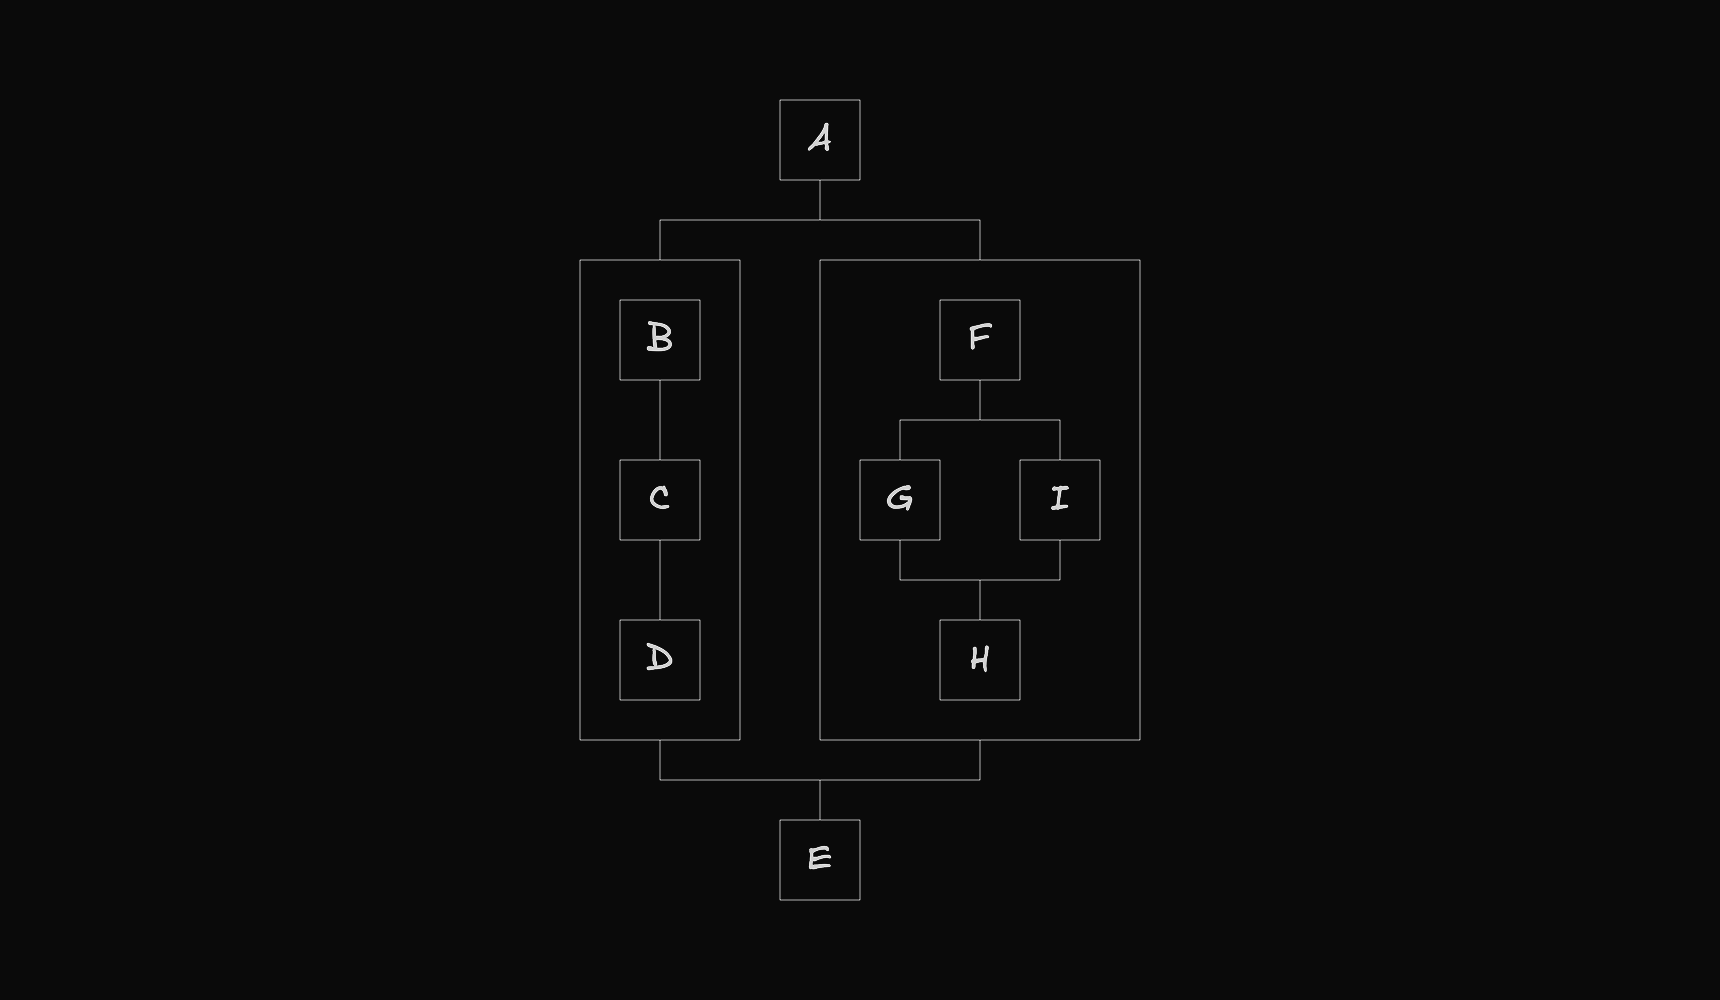
Some nodes can also act as containers, holding nested flows that follow the same structure.
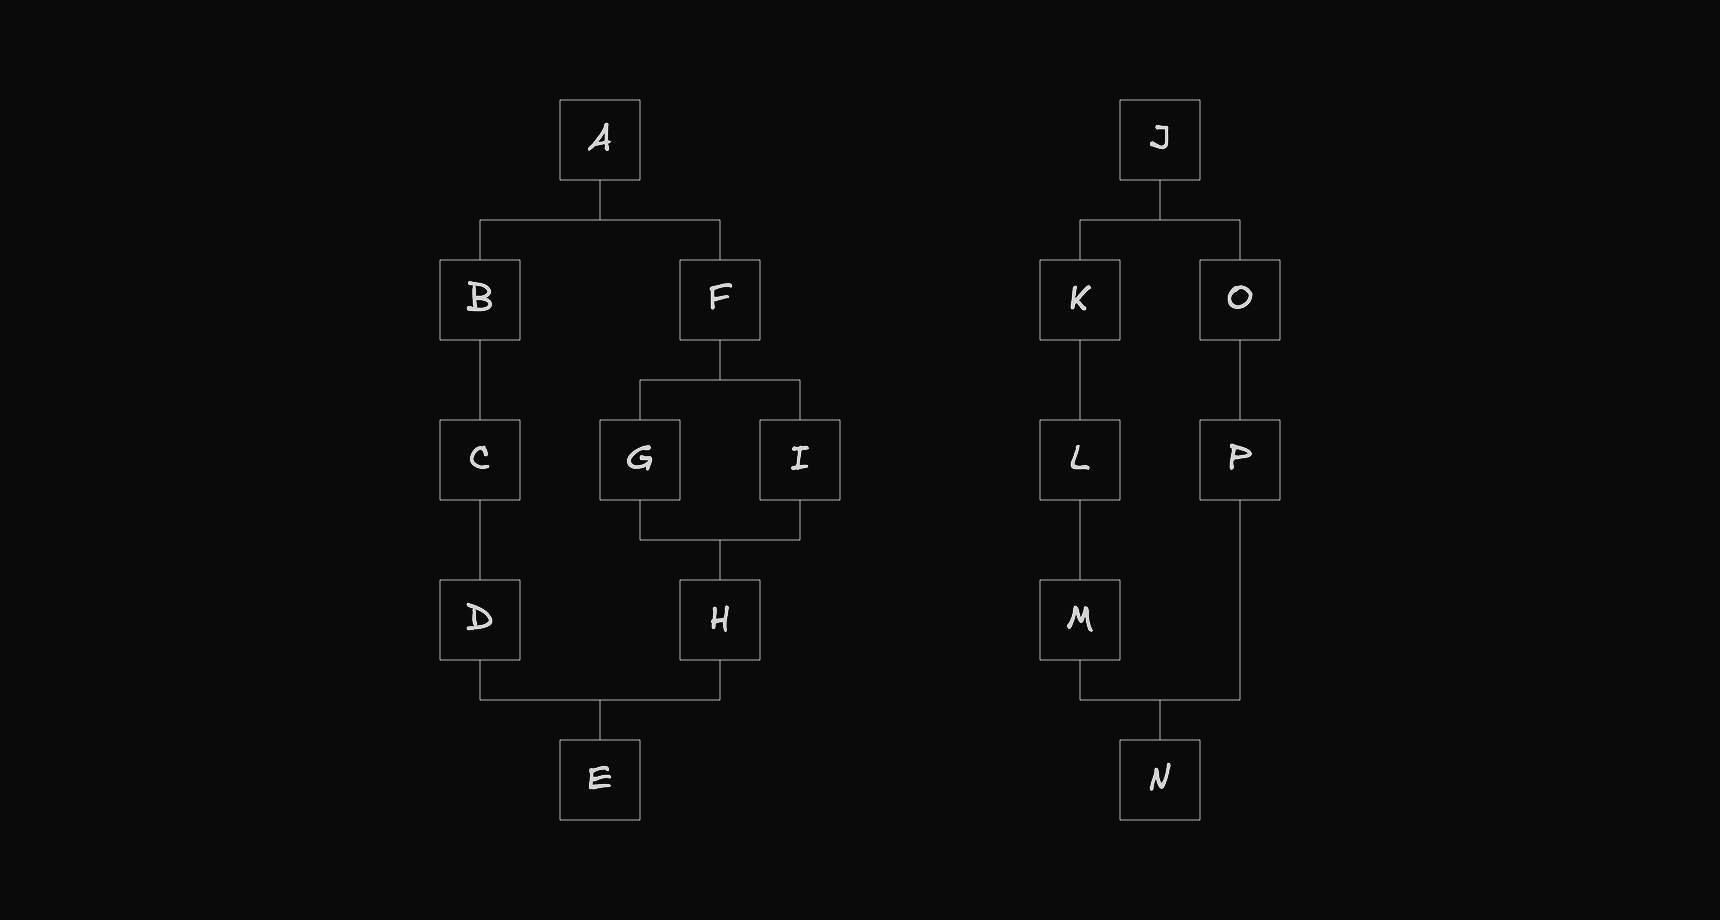
Finally, we can also define multiple top-level flows, which comes in handy for drag and drop interactions.
React Flow Abstraction Layer
The visual structure described above is exactly what we need to serve as the foundation for our abstraction layer on top of React Flow. We can implement this by creating a FlowsView component that accepts this structure as a prop and fires a callback whenever the user attempts to make a change.
export function App() {
  const flows = useMemo(() => createFlows(), []);

  const onFlowsChange = useCallback((changes: TypedFlowsChange[]) => {
    console.log(changes);
  }, []);

  return (
    <FlowsView
      flows={flows}
      onFlowsChange={onFlowsChange}
      nodeTypes={nodeTypes}
      edgeTypes={edgeTypes}
    />
  );
}
The logic for constructing and managing this data structure can look something like this.
function createFlows(): TypedFlows {
  const A: TypedFlowNode = {
    id: "A",
    type: "component",
    entity: { type: "block", meta: {}, data: { name: "A" } },
    selected: false,
    position: { x: 0, y: 0 },
    positionAbsolute: { x: 0, y: 0 },
    size: { w: 80, h: 80 },
    gaps: { next: 40 },
    next: [],
    prev: [],
    parent: null,
  };

  // ...

  const G: TypedFlowNode = {
    id: "G",
    type: "container",
    entity: { type: "container", meta: {}, data: { size: { w: 0, h: 0 } } },
    selected: false,
    position: { x: 0, y: 0 },
    positionAbsolute: { x: 0, y: 0 },
    size: { w: 0, h: 0 },
    room: { x: 40, y: 40 },
    gaps: { into: 40, next: 40 },
    into: [],
    next: [],
    prev: [],
    parent: null,
  };

  // ...

  const AtoB: TypedFlowEdge = {
    id: "A-B",
    entity: { type: "line", data: {} },
    length: 40,
    source: A,
    target: B,
  };

  // ...

  A.next.push({ edge: AtoB, node: B });
  B.prev.push({ edge: AtoB, node: A });

  // ...

  G.into.push(H);

  autoLayout(A);

  const roots: TypedFlowNode[] = [A];
  const nodes: Map<string, TypedFlowNode> = new Map();

  // ...

  return {
    roots: roots,
    nodes: nodes,
  };
}
Note that node positions are computed automatically using the autoLayout function. If you want to learn more about how it works, it is covered in a separate article.
Explore the Code
A working example of this abstraction layer can be found here.
Next Steps
In the next part, we will explore how a Model View Controller architecture built on top of this abstraction layer can serve as the foundation for the workflow editor.